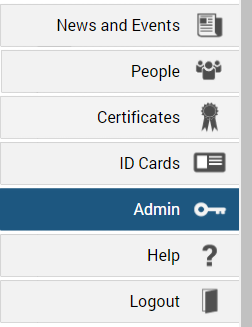
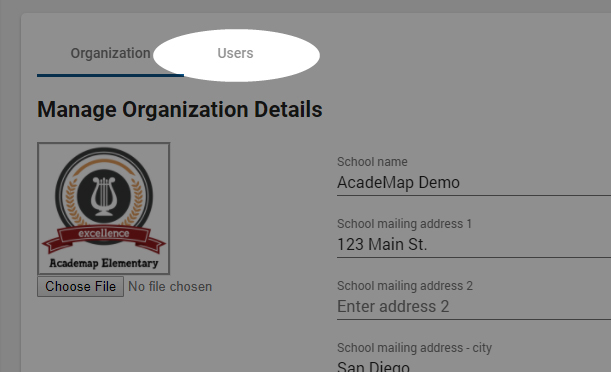
Select “Users”
In the Admin panel, click the “Users” tab in the top left corner to switch to the Users view.
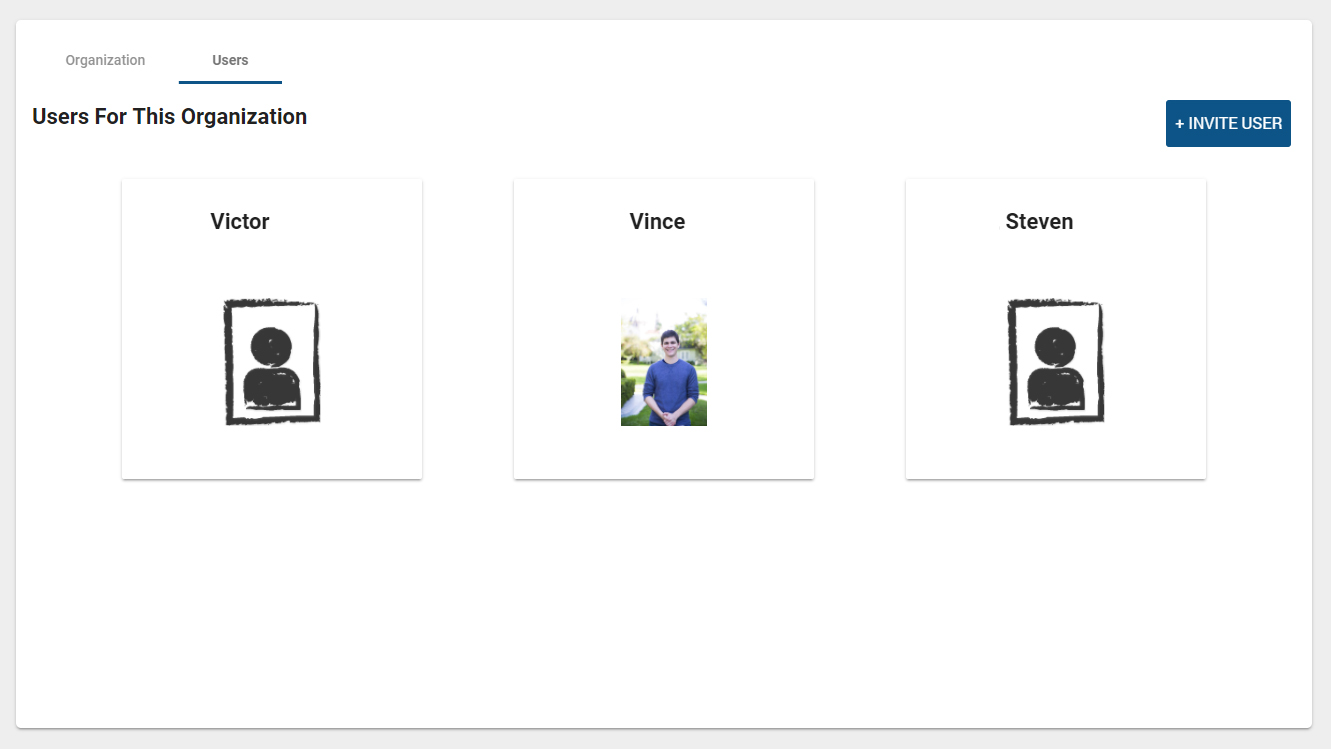
User List
Here you will see a list of all suite users.
Select a User to edit their permissions.
If you want to add a new User, click “+INVITE USER” in the top right corner to invite a new user to your school suite.
(NOTE: You can also invite a Teacher or Team member from your Directory. To see how, click here)
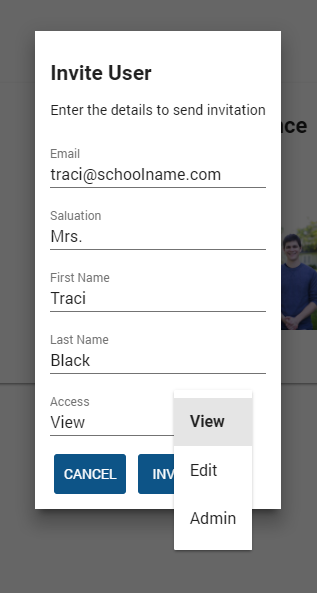
Invite User
After clicking “+INVITE USER”, enter their email address, salutation, first and last name, and access level.
There are 3 starting access levels:
View: this user can log in to view News & Events and the People Directory, but cannot make any changes.
Edit: this user can create News & Event posts, edit participants and groups/classes in the People Directory, and make Certificates and ID Cards. They cannot access the Admin Panel or change other Users’ permission levels.
Admin: this user has complete access to the suite and the Admin Panel.
When you are finished, click “INVITE” to send the email.
(NOTE: You can also invite a Teacher or Team member from your Directory. To see how, click here)
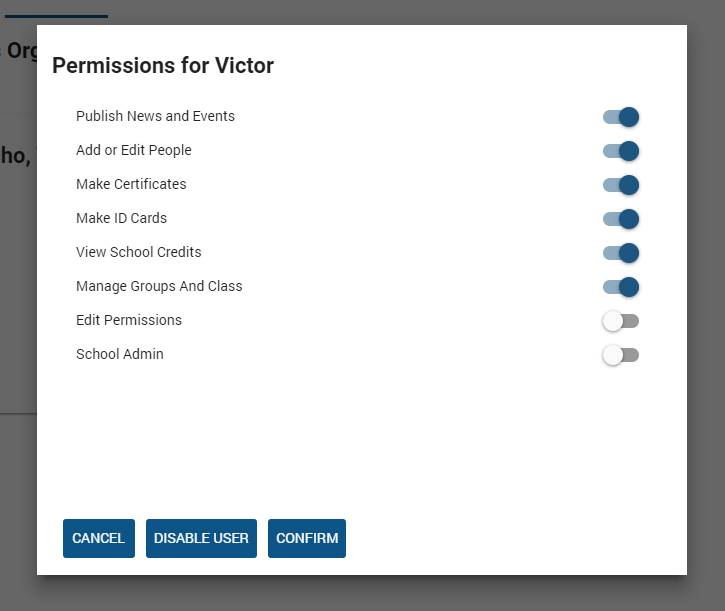
User Permissions
In the User list, click a User to see and edit their permissions.
From here, toggle a User’s permissions on or off to customize their permission level.
Click “DISABLE USER” to prohibit them from logging into your school suite. They will no longer appear in the User list.
You can re-invite disabled Users at any time.
When you are done making changes, click “CONFIRM” to save them.
Previous Tutorial: